


In this article, we will design an architecture that meets security, availability and scalability requirements and also streamlines deployment and management processes. We will create AWS Route53 for DNS management, Application Load Balancer (ALB) for load distribution, Auto Scaling Groups to dynamically adjust capacity, VPC setup for network isolation, AWS EC2 instances and MySQL for deploying a web application, and many other AWS services to explore the power of Infrastructure as Code (IaC) tool Terraform. Additionally, we will take a step further by not just deploying Python-MySQL application, but also containerizing it using Docker. This modernization approach enhances portability and consistency while simplifying management. Moreover, we'll ensure that our application has an online presence with our custom domain.
Prerequisite:
GitHub and AWS account
Basic knowledge about Terraform
Understanding of different AWS services
Notes:
I suggest building the infrastructure and resources manually first to fully understand how they work together. If you encounter any problems with the Terraform user data script, try manually deploying the code by SSHing into the instance. This hands-on approach will give you a solid grasp of the setup and troubleshooting skills you need for successful automation later.
Code link:
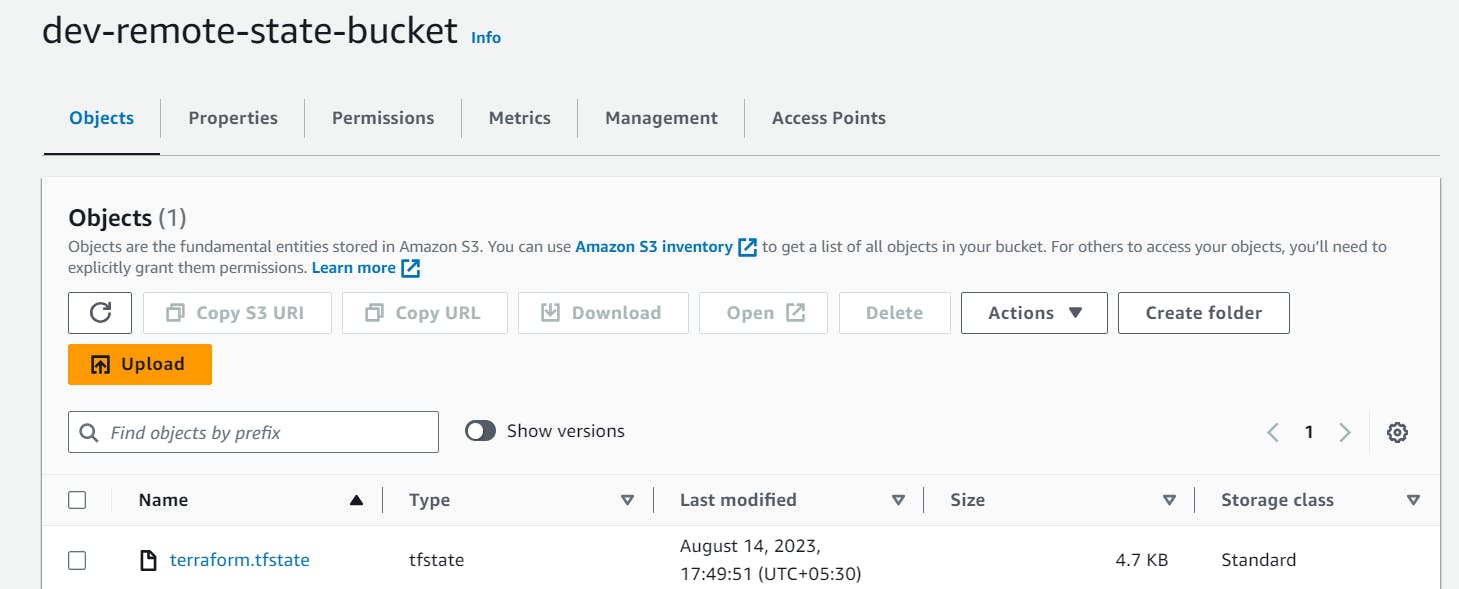
Step 1: State management using S3 and DynamoDB
The first step is to create an AWS S3 bucket and a DynamoDB table to store and lock state files. Terraform state is a critical component that keeps track of the resources we create and manage. Instead of storing this state locally, we'll store it remotely using AWS S3 and leverage DynamoDB for state locking. Let's first add the below code in the Terraform project folder and execute Terraform init, plan and apply commands.
############################## S3.tf #################################
resource "aws_s3_bucket" "dev-remote-state-bucket" {
    bucket = "dev-remote-state-bucket"
      versioning {
        enabled = true
    }
    tags = {
        Name = "S3 Remote Terraform State Store"
    }
}
############################## dynamo_db.tf ##########################
resource "aws_dynamodb_table" "terraform-state-lock" {
    name           = "terraform-state-lock"
    read_capacity  = 5
    write_capacity = 5
    hash_key       = "LockID"
    attribute {
        name = "LockID"
        type = "S"
    }
    tags = {
        "Name" = "DynamoDB Terraform State Lock Table"
    }
}

The above AWS resources will get created after executing terraform commands. Now, let's add a provider block and execute all commands again make sure you delete terraform.tfstate file from your local and update the Terraform backend with the AWS S3 bucket and DynamoDB table name as shown below.
############################## provider.tf #############################
terraform {
     backend "s3" {
        bucket         = "dev-remote-state-bucket"
        key            = "terraform.tfstate"
        region         = "us-east-1"
        dynamodb_table = "terraform-state-lock"
    }
    required_providers {
      aws = {
        version = "~>5.0"
        source = "hashicorp/aws"
      }
    }
}
Step 2: Purchase a domain name
The first step in establishing your application's online presence is to purchase a domain name. You can choose a domain provider of your preference. I have chosen GoDaddy for domain registration services. You can also use AWS Route 53 for domain management which allows seamless integration with your AWS resources.
Since I have purchased the domain from GoDaddy to integrate it with other AWS services. We need to delegate domain rights to AWS Route53. This will allow you to easily manage your DNS records within AWS, ensuring better integration with your resources and services.
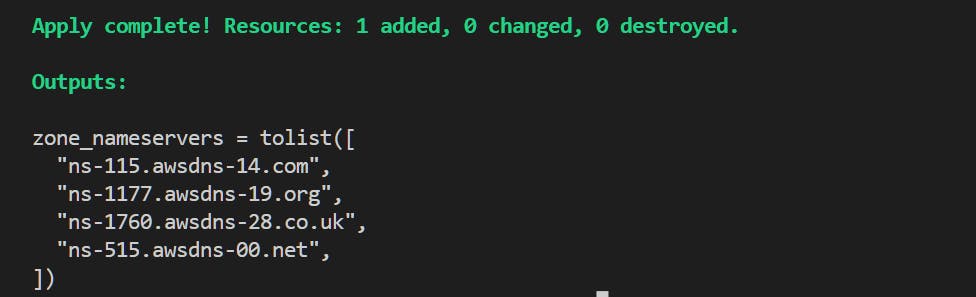
Step 3: Hosted zone in AWS Route 53
An AWS Route 53 hosted zone is a container that holds information about how you want to route traffic for a specific domain, such as palakbhawsar.in. It will provide us with the necessary nameservers that we can use to delegate the domain management to Route 53. We will later associate the hosted zone with an Application load balancer to enable dynamic routing and load balancing of traffic across multiple resources.
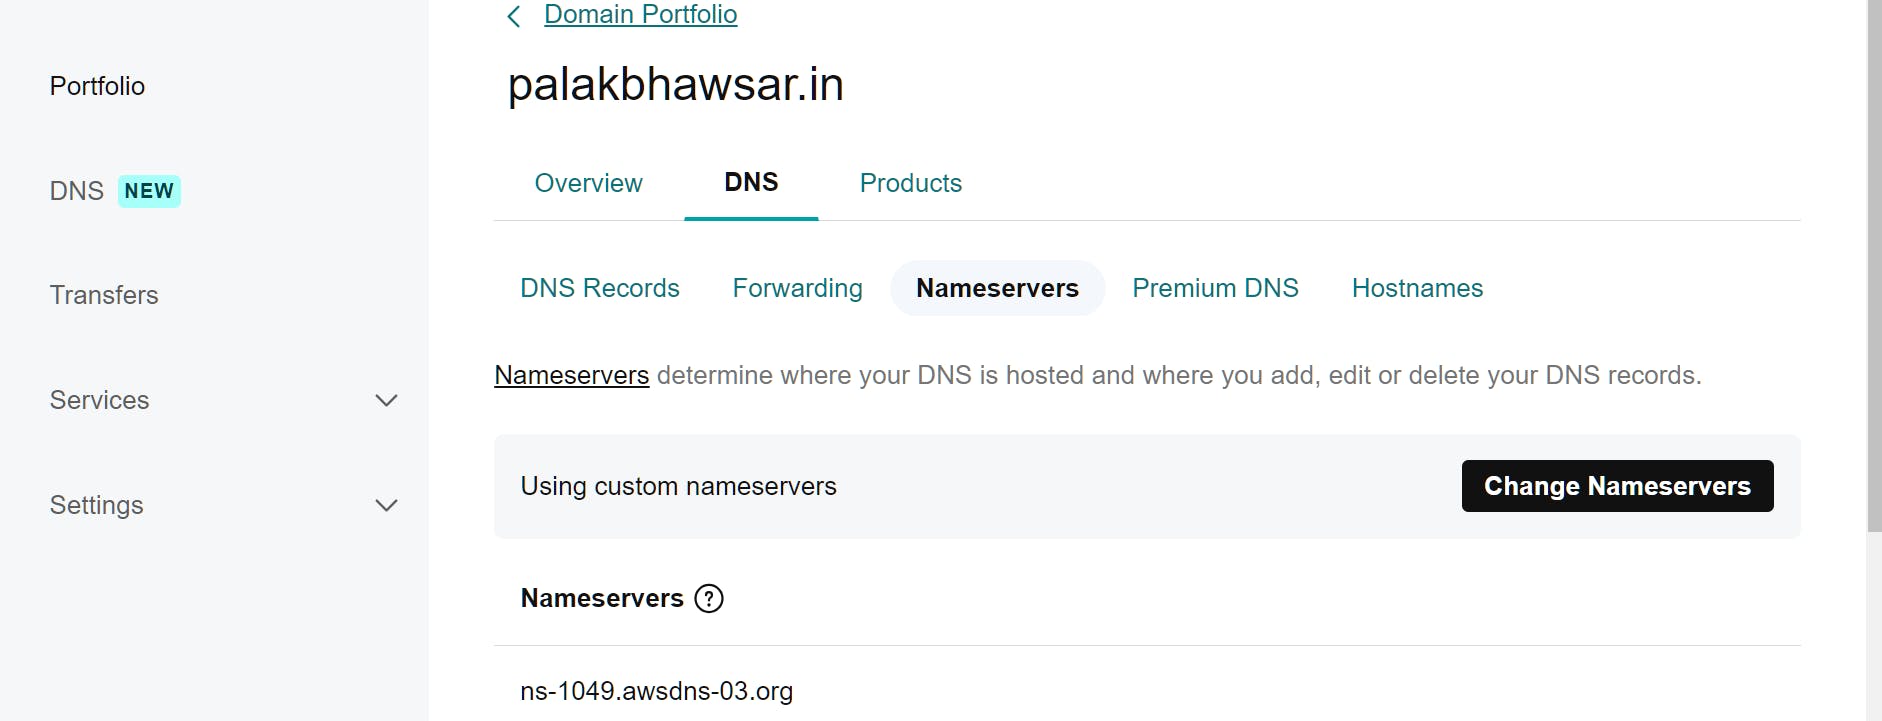
We can then take the name servers from the output and update the GoDaddy account to delegate domain management to Route 53.
Go to your GoDaddy account->Domain portfolio-> DNS-> Nameservers->Change nameservers->Add nameservers->Save.
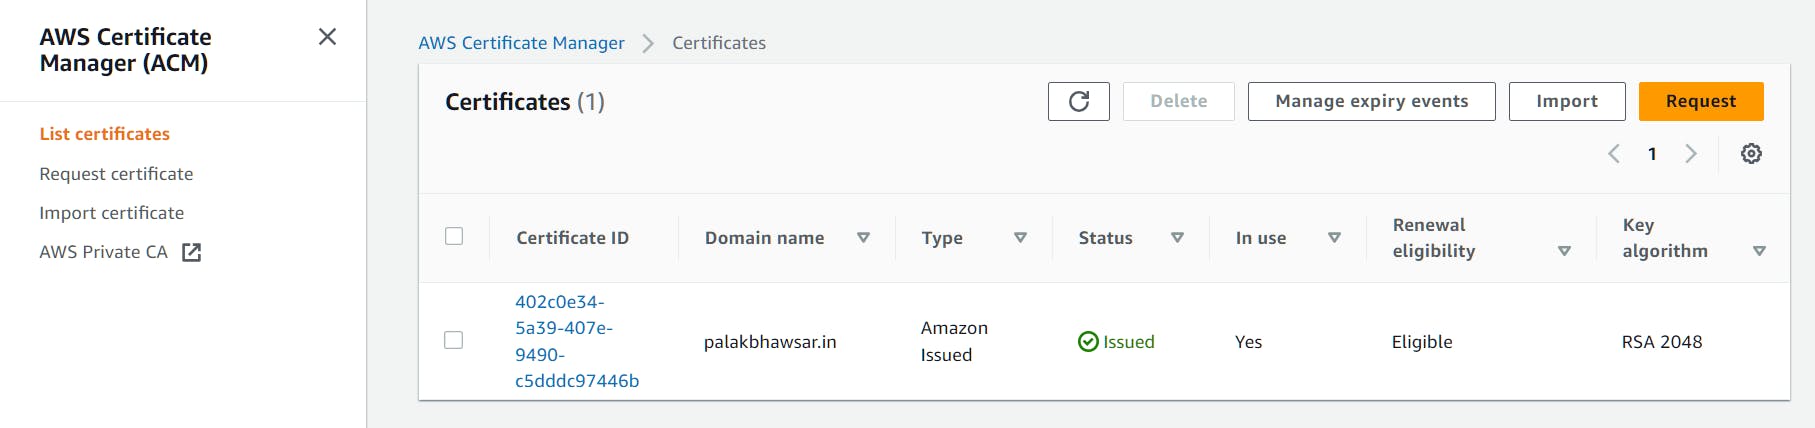
Step 3: Add SSL Certificate for Domain
An SSL certificate ensures encrypted communication between users' browsers and your web application. We will utilize AWS Certificate Manager (ACM) to easily provision a free SSL/TLS certificate for our custom domain. The below code sets up an ACM certificate, creates a Route53 DNS record for certificate validation, and then validates the certificate. The validation process involves confirming ownership of the domain through DNS records, and it's a critical step in securing your website with an SSL/TLS certificate.
Step 4: VPC setup for network isolation
In this step, we'll establish a Virtual Private Cloud (VPC) in the us-east-1 region, linking it to an Internet Gateway for external connectivity. The setup includes the creation of both public and private subnets across the us-east-1a and us-east-1b availability zones. Route tables for these subnets will be configured and associated accordingly. Route tables act as guides for network traffic, determining its destination based on predefined rules. This orchestrated process encompasses the development of a comprehensive networking environment, laying the foundation for the subsequent building blocks of your infrastructure.


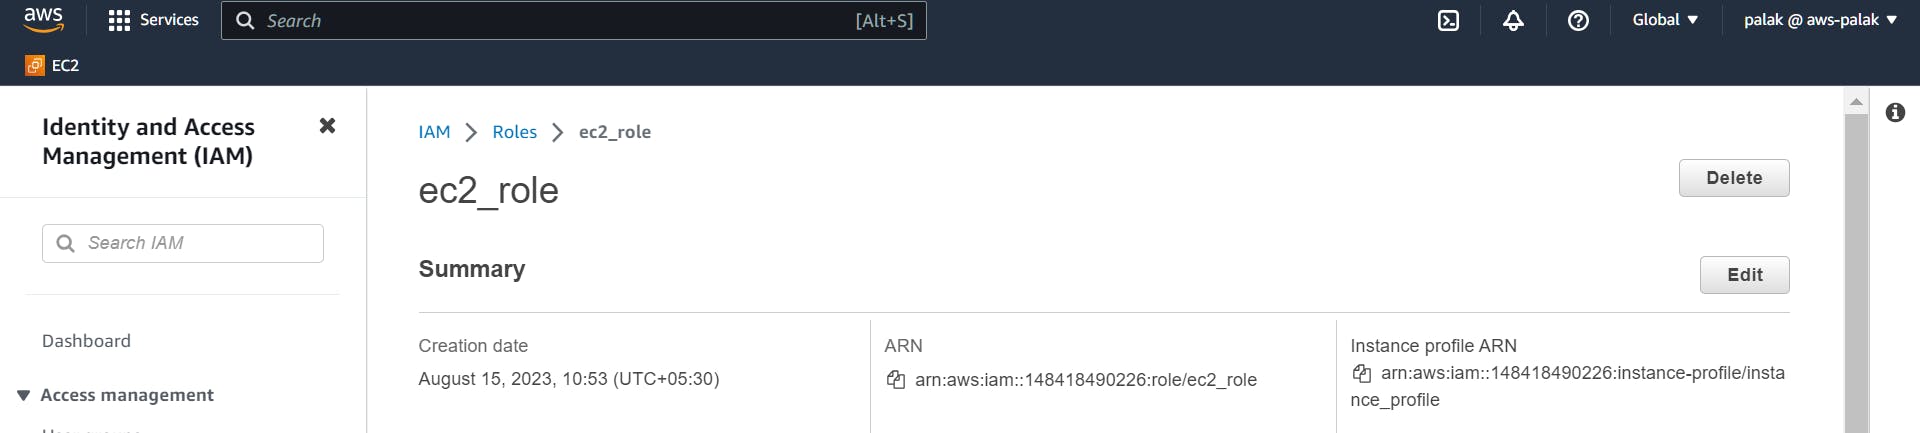
Step 5: Create an IAM role for EC2 Instances
In this step, we will set up a special role for EC2 instances. The application running inside these instances needs to talk to a MySQL database to get credentials. Plus, it also requires access to database credentials stored in an AWS tool called Systems Manager. So, we're creating this role and permitting it to communicate with MYSQL and the System manager.

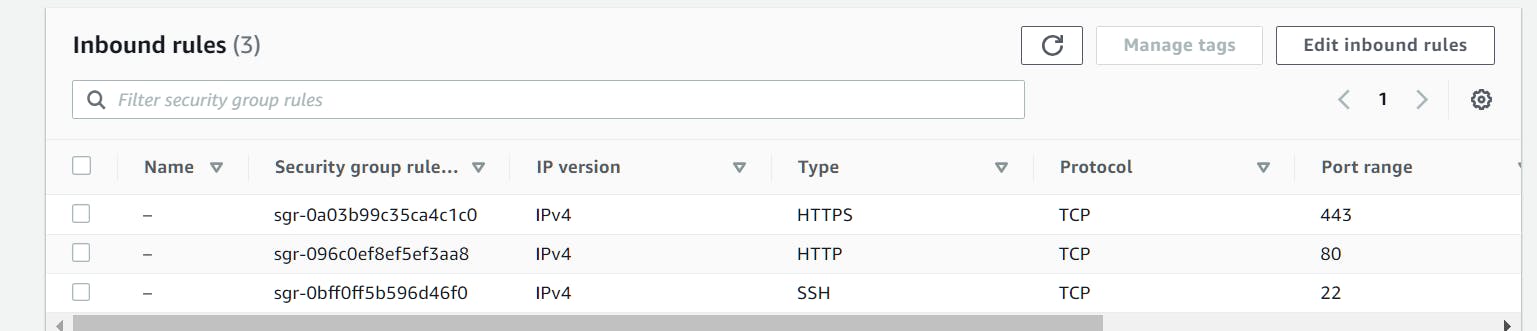
Step 6: Create instances and security groups
In this step, we will create EC2 instances within each availability zone, leveraging a user data script that will orchestrate the deployment of our Python-MySQL application. The application will operate on port 80. We will create a security group that allows inbound traffic on port 80 for HTTP traffic, port 443 for HTTPS communication, and port 22 for SSH access.

Step 7: Create RDS and security group
In this step, we will create a MySQL DB instance in a private subnet and attach the security group to the MySQL DB instance. The security group will allow traffic from the EC2 instance security group on port 3306. This architecture is designed to seamlessly handle contingencies. If the MySQL database instance in the us-east-1a availability zone encounters a failure, a failover plan comes into play and the standby MySQL instance in the us-east-1b availability zone takes over the role of the primary database.

Step 8: Create an Application Load Balancer
In this step, we will create an AWS Application Load Balancer (ALB) with associated components. Starting with the security group that permits incoming HTTP (port 80) and HTTPS (port 443) traffic while allowing outbound traffic. Following this will create a target group and ALB listener to set up for HTTPS on port 443, along with a default fixed-response action. Additionally, specific listener rules are defined for paths like "/signup," "/signin," and "/dashboard," each forwarding traffic to the designated target group is EC2 instances. An SSL certificate is associated with the listener via an ACM certificate ARN. Lastly, a Route 53 A record is generated to associate the ALB's DNS name with the root domain ("palakbhawsar.in"), ensuring connectivity to the ALB for incoming requests.


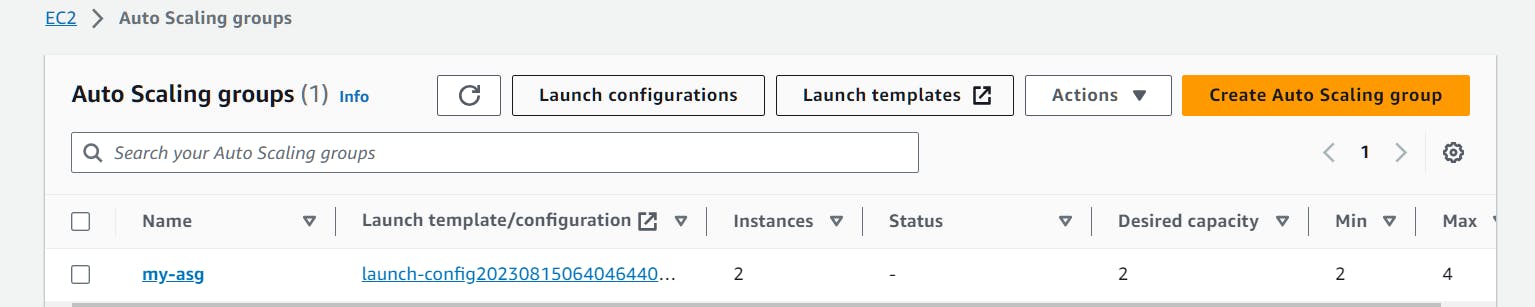
Step 9: Create an Autoscaling group
In this step, we will create an Auto Scaling group, which is a way to manage a collection of Amazon EC2 instances. First, create a launch configuration that defines how instances will be launched. It specifies an Amazon Machine Image (AMI) to use, sets the instance type, and assigns a security group for the instances. This launch configuration is used to create instances. Next, create the Auto Scaling group, this group ensures a specific number of instances are running at all times, adapting to demand. It uses the previously created launch configuration. The group's settings include minimum and maximum instance counts (2 to 4 instances), and it will always try to maintain 2 instances by default. Finally, associate the target group to the Application Load Balancer (ALB) and distribute incoming traffic among the instances in the Auto Scaling group.
Step 10: Create a parameter in AWS System Manager
In this step, we will create a secret locker for a password by creating a parameter in the AWS system manager securely. It will create a special place called "mysql_password" where you can store your password secretly. You give it a name, in this case, "mysql_psw," and you tell it that the secret is a secure string, like a hidden message. Then, you put your password, let's say it's "12345678," into this secret locker. Now, whenever you need that password, you can open this locker and get it. It's like having a secret vault just for your password.

After successfully deploying the infrastructure, it's time to verify its functionality. Open your browser and access the web application using your domain: palakbhawsar.in/signup.

As we added SSL/TLS certificate for our domain the connection is secure and can be accessed via HTTPS.

Go ahead and sign up, then sign in to validate the connection with the MySQL database.

Voila, it's a success! Your application is up and running smoothly.

I am going to destroy this infrastructure due to the costs associated with AWS services. As a result, accessing the application using my domain might not be possible anymore.
🥳🥳 Congratulations on completing this project!
Thank you for taking time to read my article. If I've overlooked any steps or missed any details, please don't hesitate to get in touch.
👉 Feel free to reach out to me anytime Contact me
Palak Bhawsar ✨