


Hey there! I am Palak, a cloud and DevOps Enthusiast 👩💻I believe learning is super fun and a lot easier when it is shared with people around you. So here I am with some AWS & DevOps content that I'm learning.
Amazon S3 stands for Simple Storage Service, an object storage service that offers scalability, data availability, security, and performance at a very low cost as compared to the on-premises data center. It can scale to an enormous size and can store objects up to 5GB each and provides 99.999999999% durability and 99.99% availability for objects over a given year. In S3 we store objects in containers called buckets.
The most common use case of Amazon S3 are :
Backup and storage
Media hosting
Software Delivery
Data lakes
Static websites and static content
Let's get started with hosting a static website on Amazon S3.
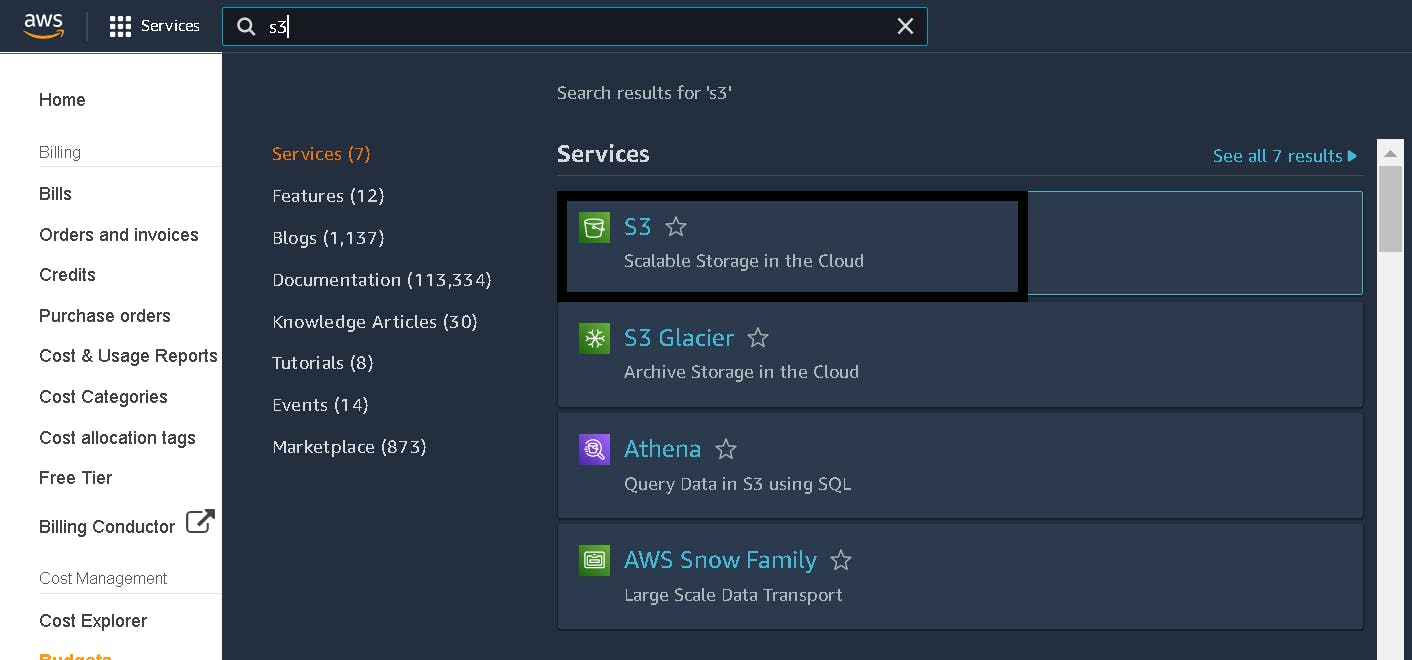
1. Create an AWS account and search for S3 in AWS Services
Navigate to the Services in the AWS account and search for S3. For deeper understanding read about S3 and watch the video by AWS on how S3 works.
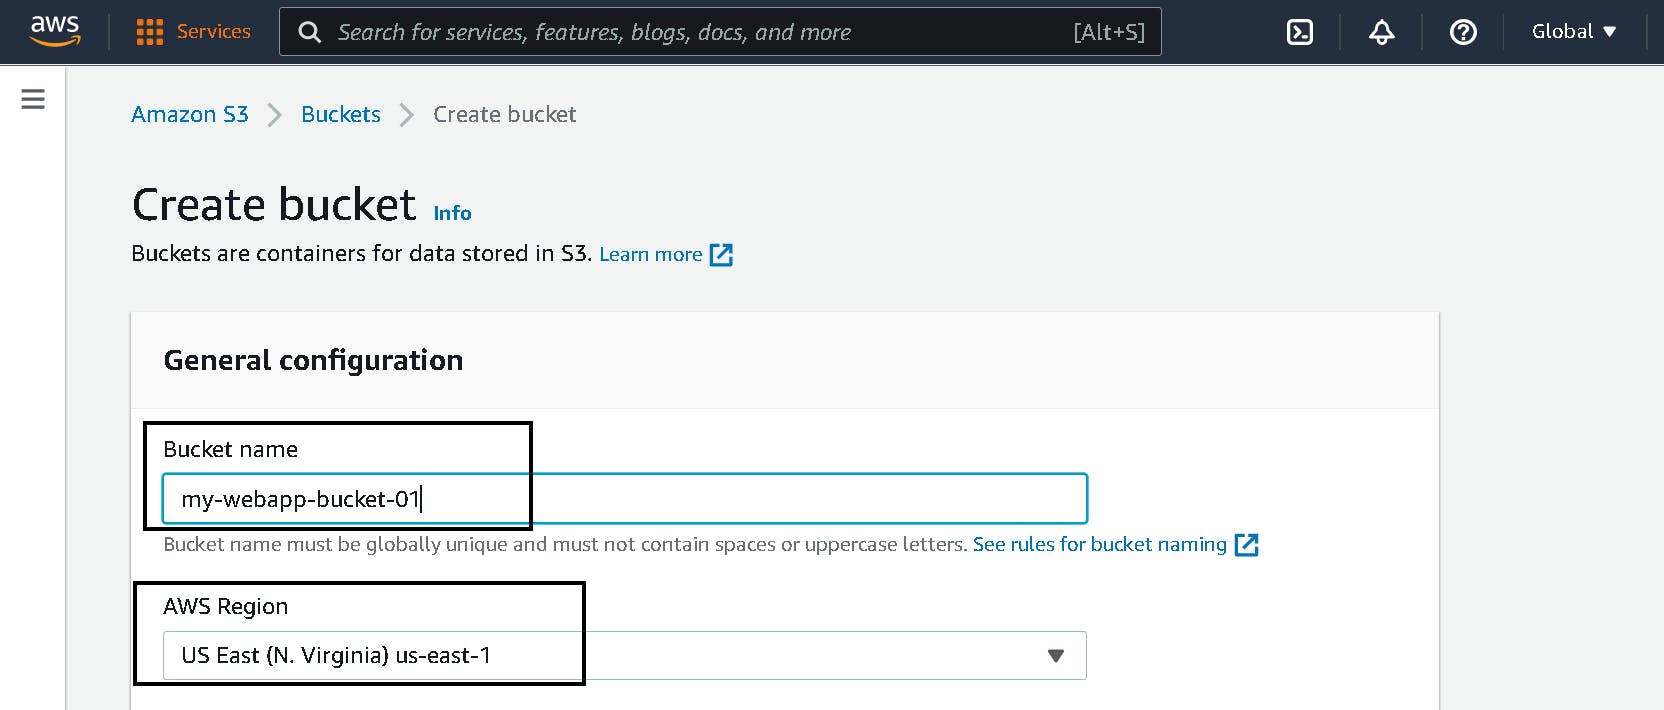
2. Create an S3 bucket
Select Create bucket, the bucket name should be globally unique and bucket names must be between 3 to 63 characters long. Bucket names can consist only of lowercase letters, numbers, dots (.), and hyphens (-). Decides in which region you want your bucket to reside. Select the region from the dropdown.
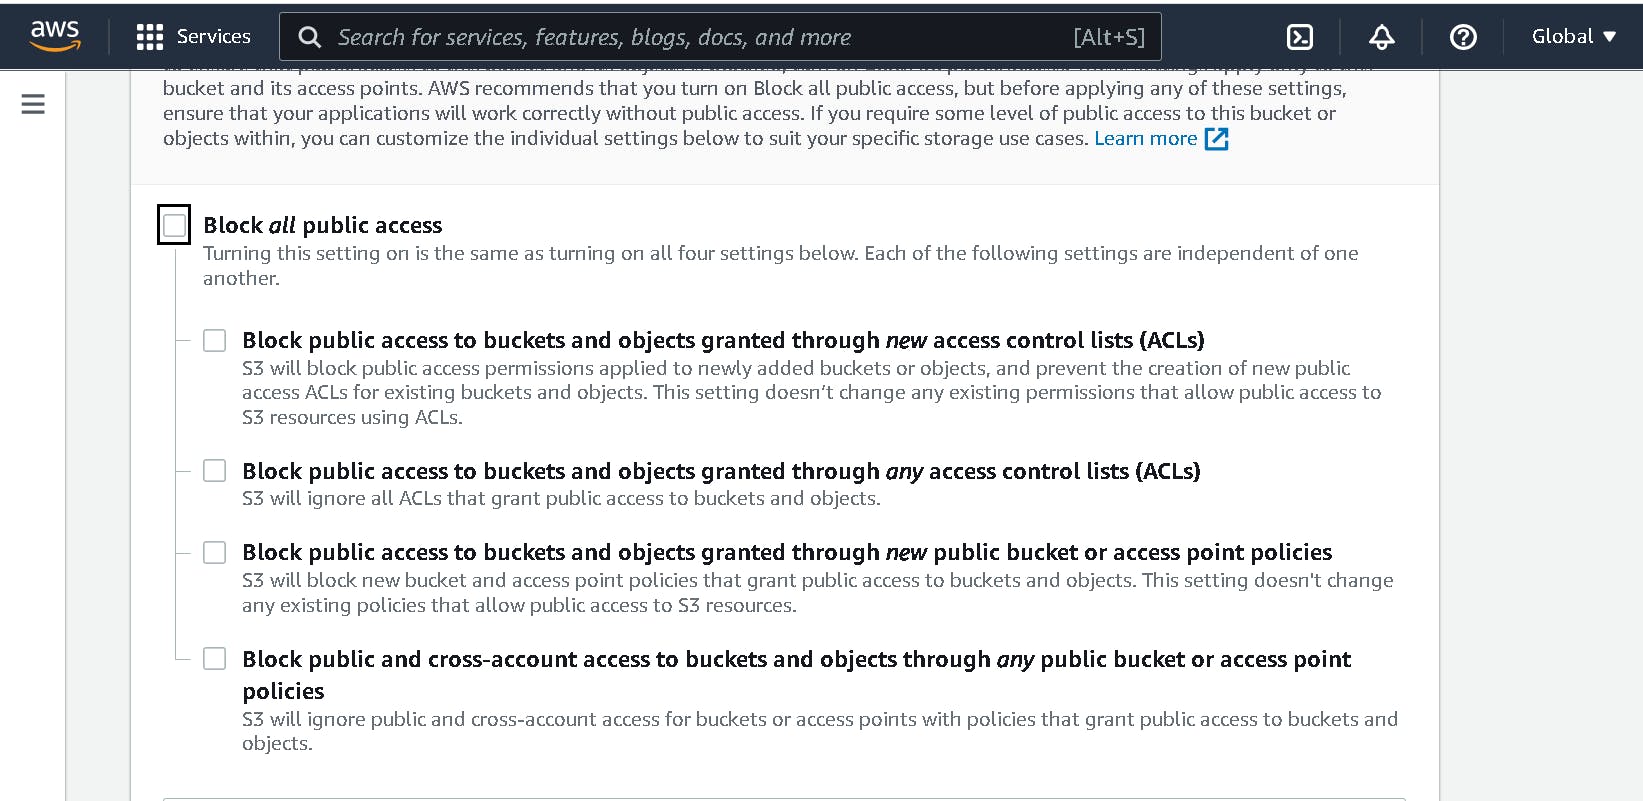
In order to make your website available to the public, Uncheck the box "Block all public access". Otherwise, your website will not be reachable to end users. After this, a section will appear to acknowledge the S3 bucket and its content is made public. Check the box to acknowledge it. Leave other settings default and click the Create bucket button at the bottom right corner. If the bucket name is not unique, you will get an error.
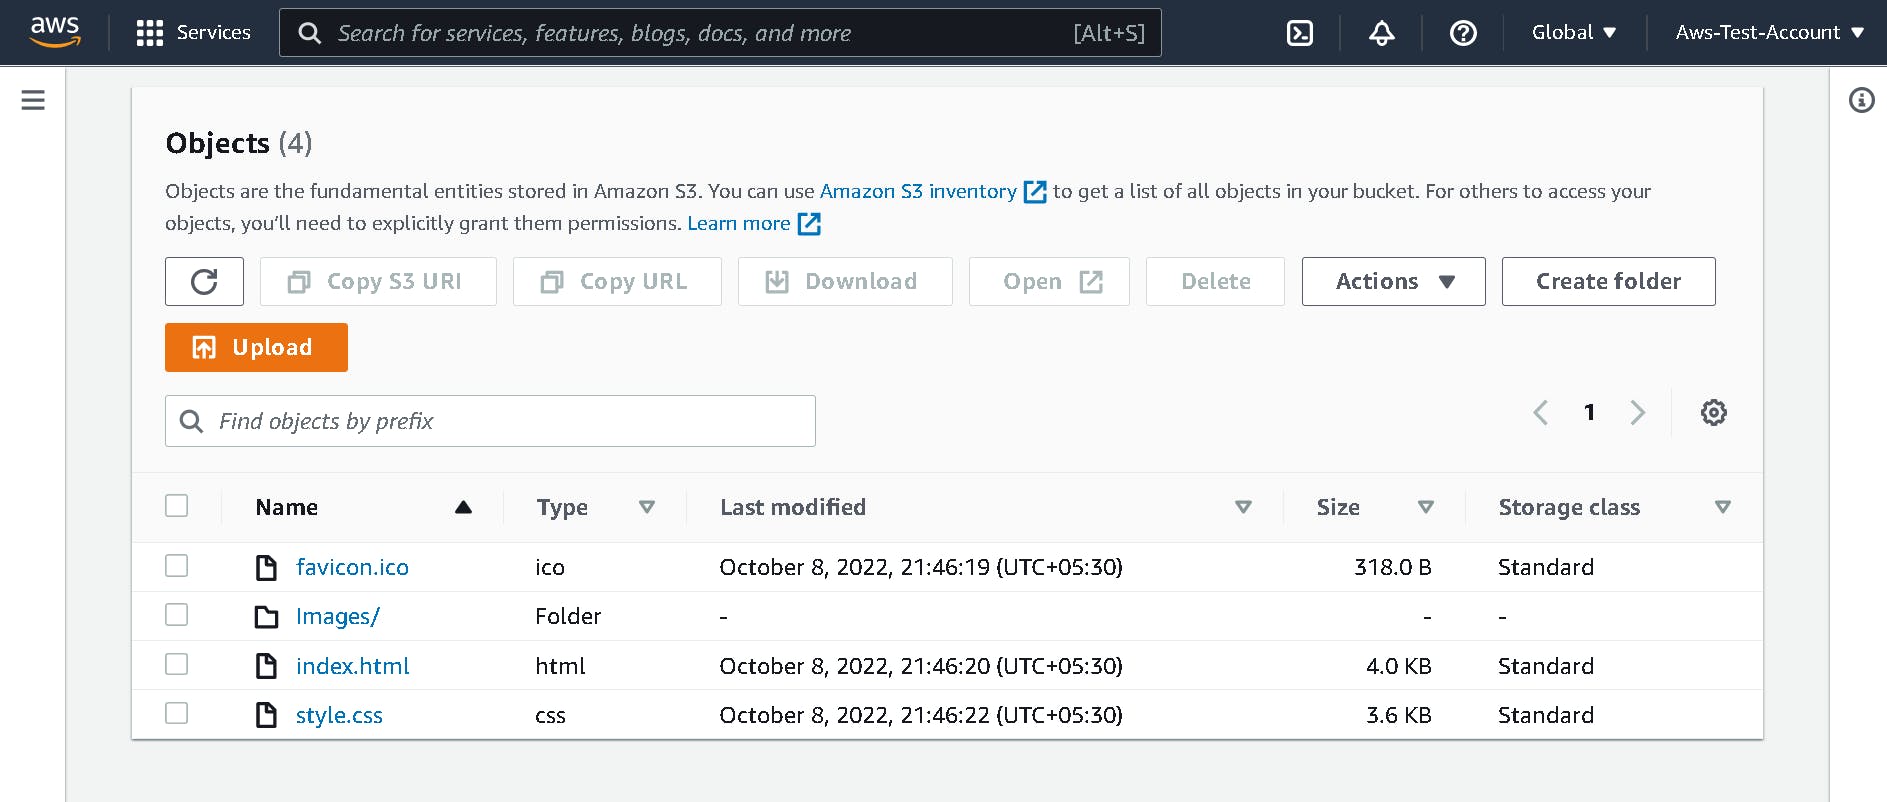
3. Upload your website content to the newly created bucket
Click on your bucket name, click the Upload button and upload all your website contents (index.html, CSS, Images). If you have any folders then click Add folder otherwise Add files. After selecting all the files and folders from your local, click Upload at the bottom right corner.
This is how your bucket will look after uploading all the contents.
4. Enable Web Hosting in S3 bucket
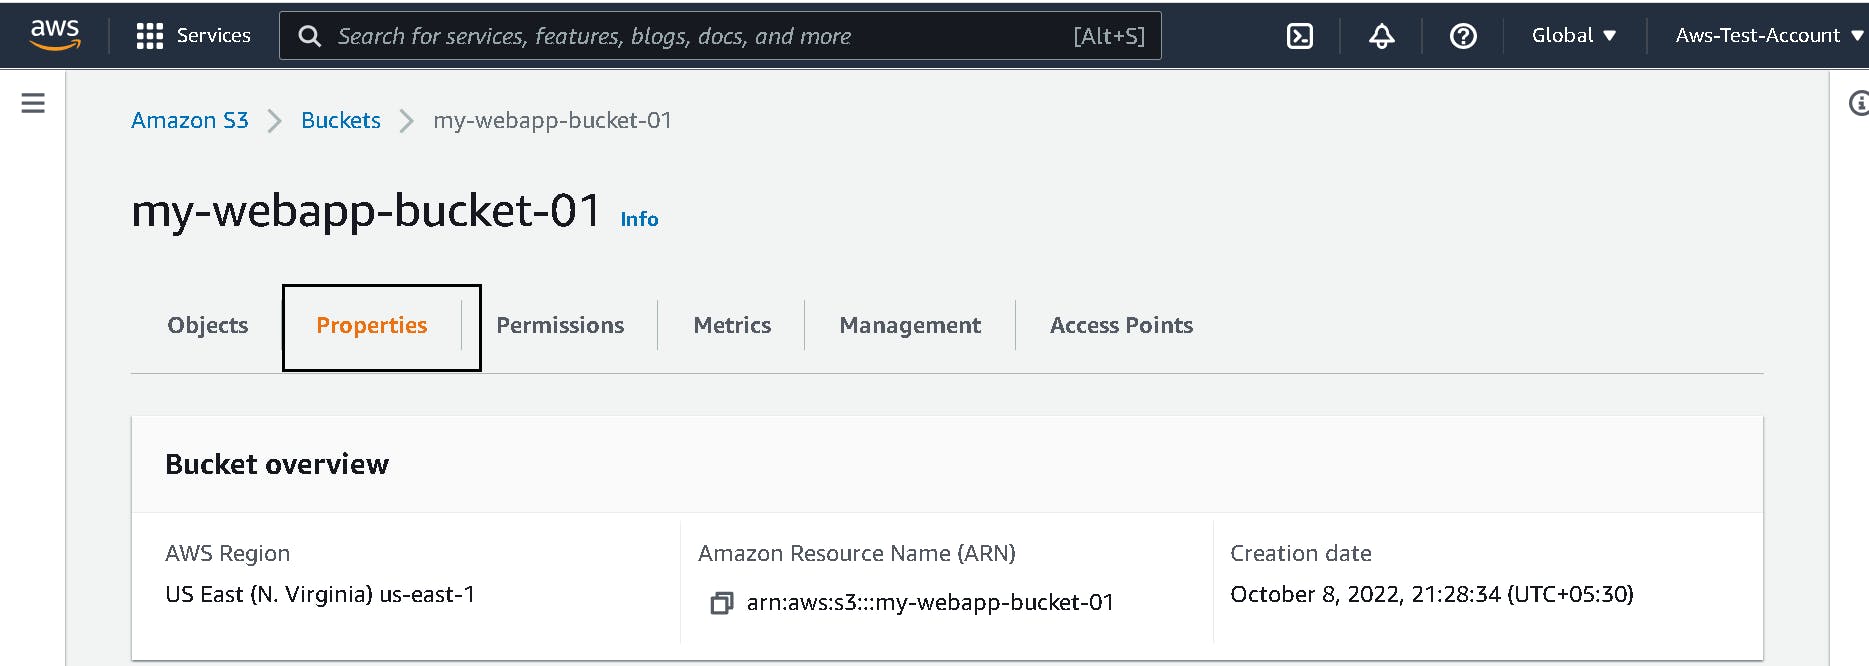
In order to allow Static Hosting, go to the Properties in your bucket menu.
Scroll to the end and click edit and enable the Static website hosting

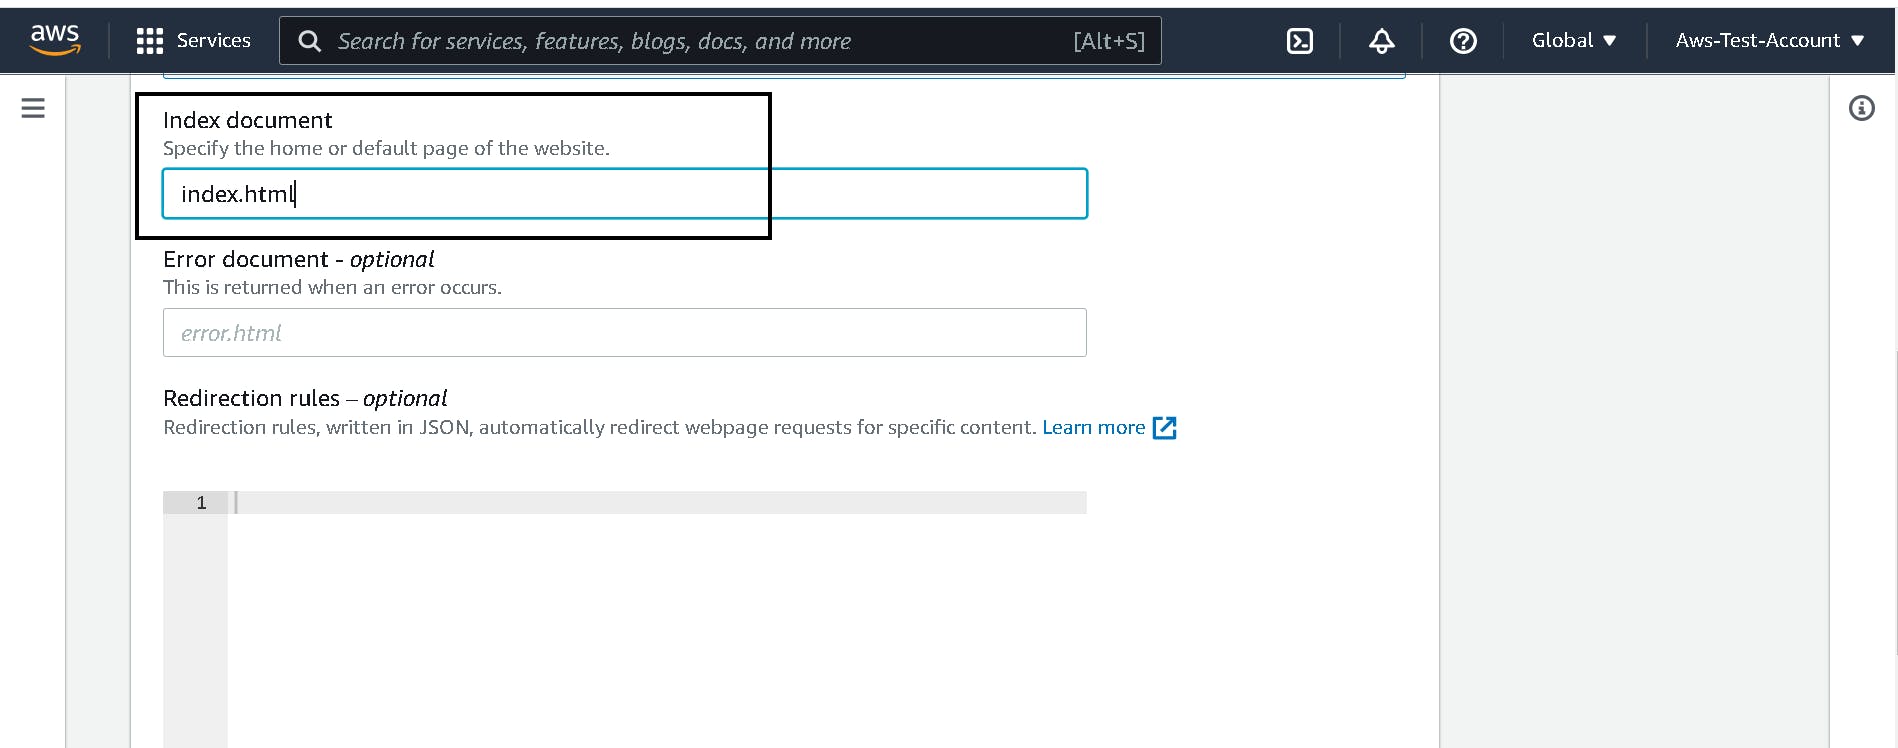
After enabling Static Website Hosting, enter the name of the index file of your project i.e. index.html in my project. Error document is an option to specify the error file name in case you have an error file. Scroll to the end and click Save changes at the bottom right corner.
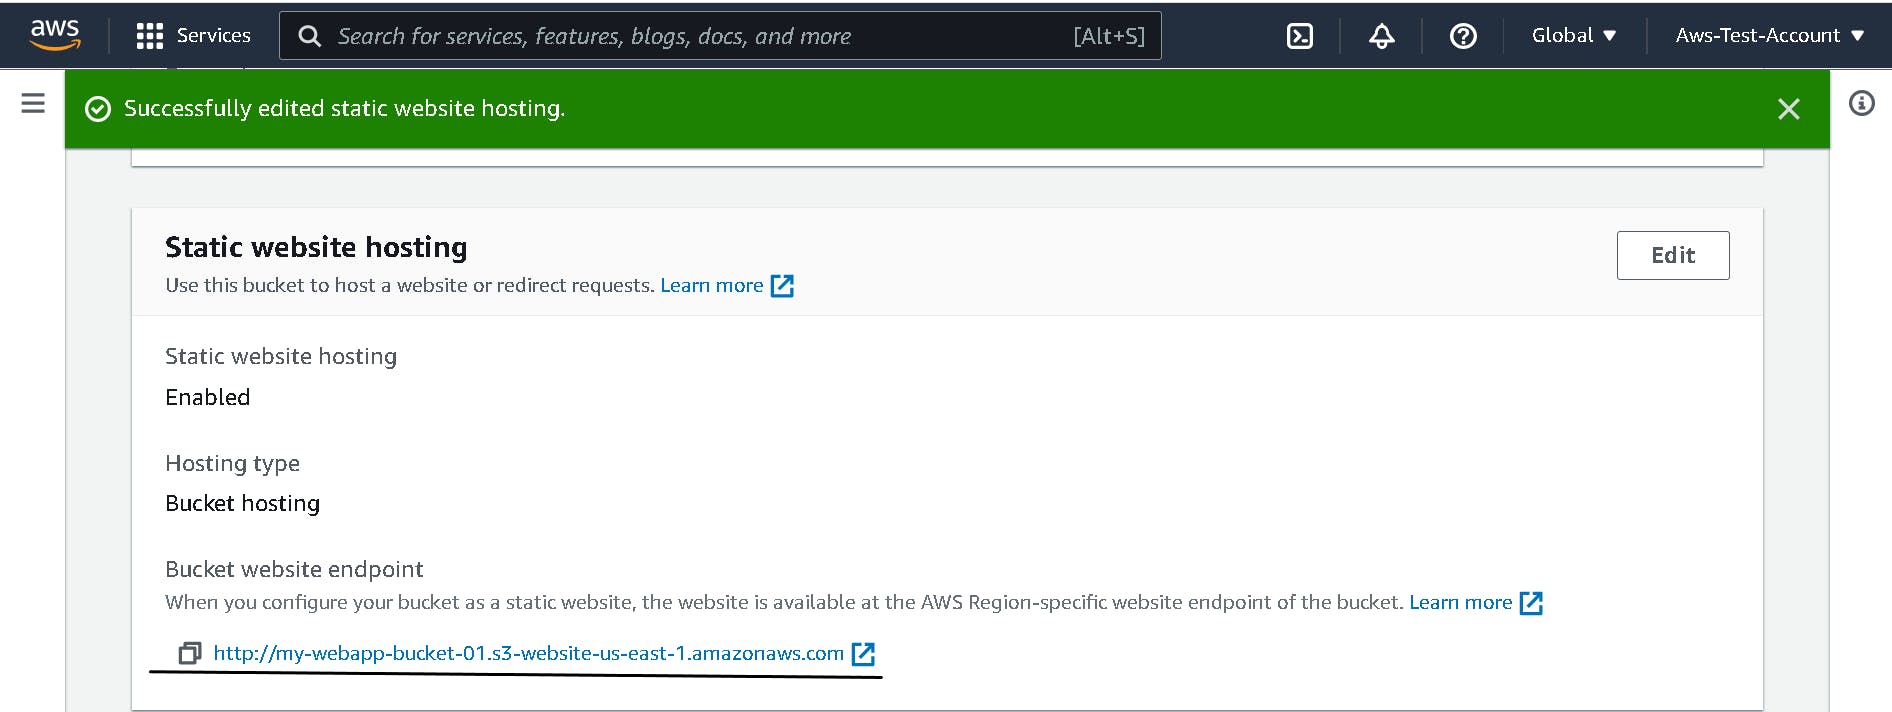
We have created the bucket, uploaded the content, enabled the Static Website Hosting, and made it publicly accessible. However, we are still missing something. In order to access the website, we need a URL that AWS itself provides. Go to the Static Website Hosting section and copy the URL and search in the browser.
Oops, our website is still not accessible! What could be the possible reason?🤔🤔
Think Think Think

Don't worry, I've figured it out! We have made our Bucket accessible to the public but objects inside the Bucket are not public yet, and for that, we need to create the bucket policies.
Amazon S3 bucket policies are defined in a JSON format which specifies what actions are allowed or denied on the bucket. Let's create a bucket policy for our bucket.
5. Create bucket policies
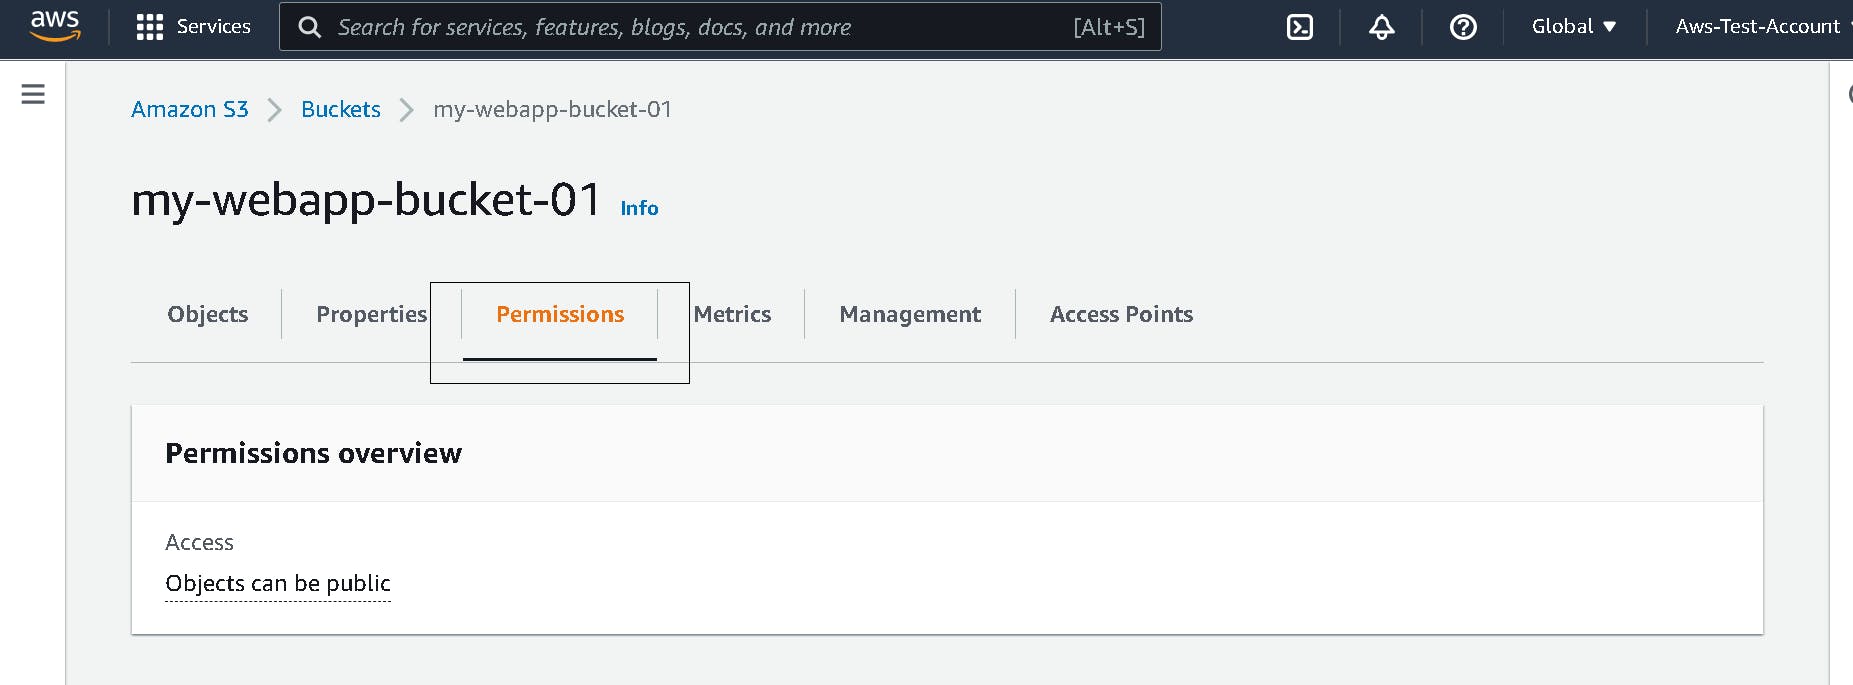
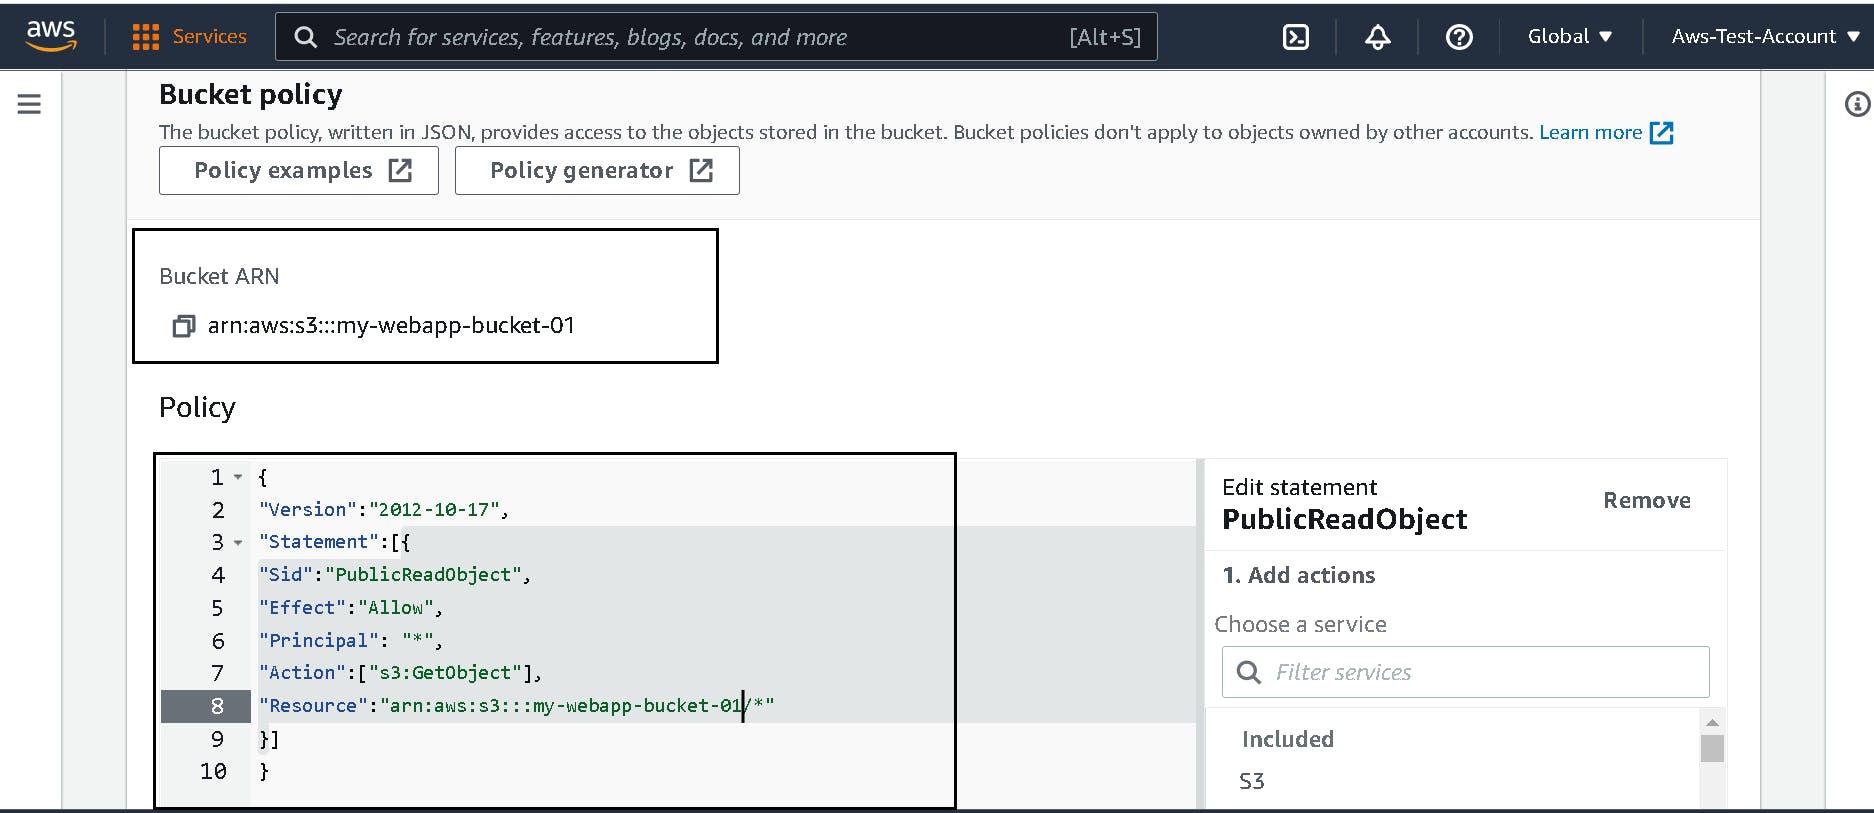
Go to Permissions in your bucket menu. Click on edit under Bucket Policy
Copy and paste the following JSON in the editor to allow the public to read files from the bucket. Make sure to replace "your-bucket-name" with your S3 Bucket Name. You can find the Bucket ARN above the editor.
 {
"Version":"2012-10-17",
"Statement":[{
"Sid":"PublicReadObject",
"Effect":"Allow",
"Principal": "*",
"Action":["s3:GetObject"],
"Resource":"your-bucket-name/*"
}]
}
Ensures not to remove /* after the bucket name in JSON policy. It makes sure that all the objects in the bucket are selected to make it public. Lastly, click on the Save changes option at the end.
6. Access your website through URL
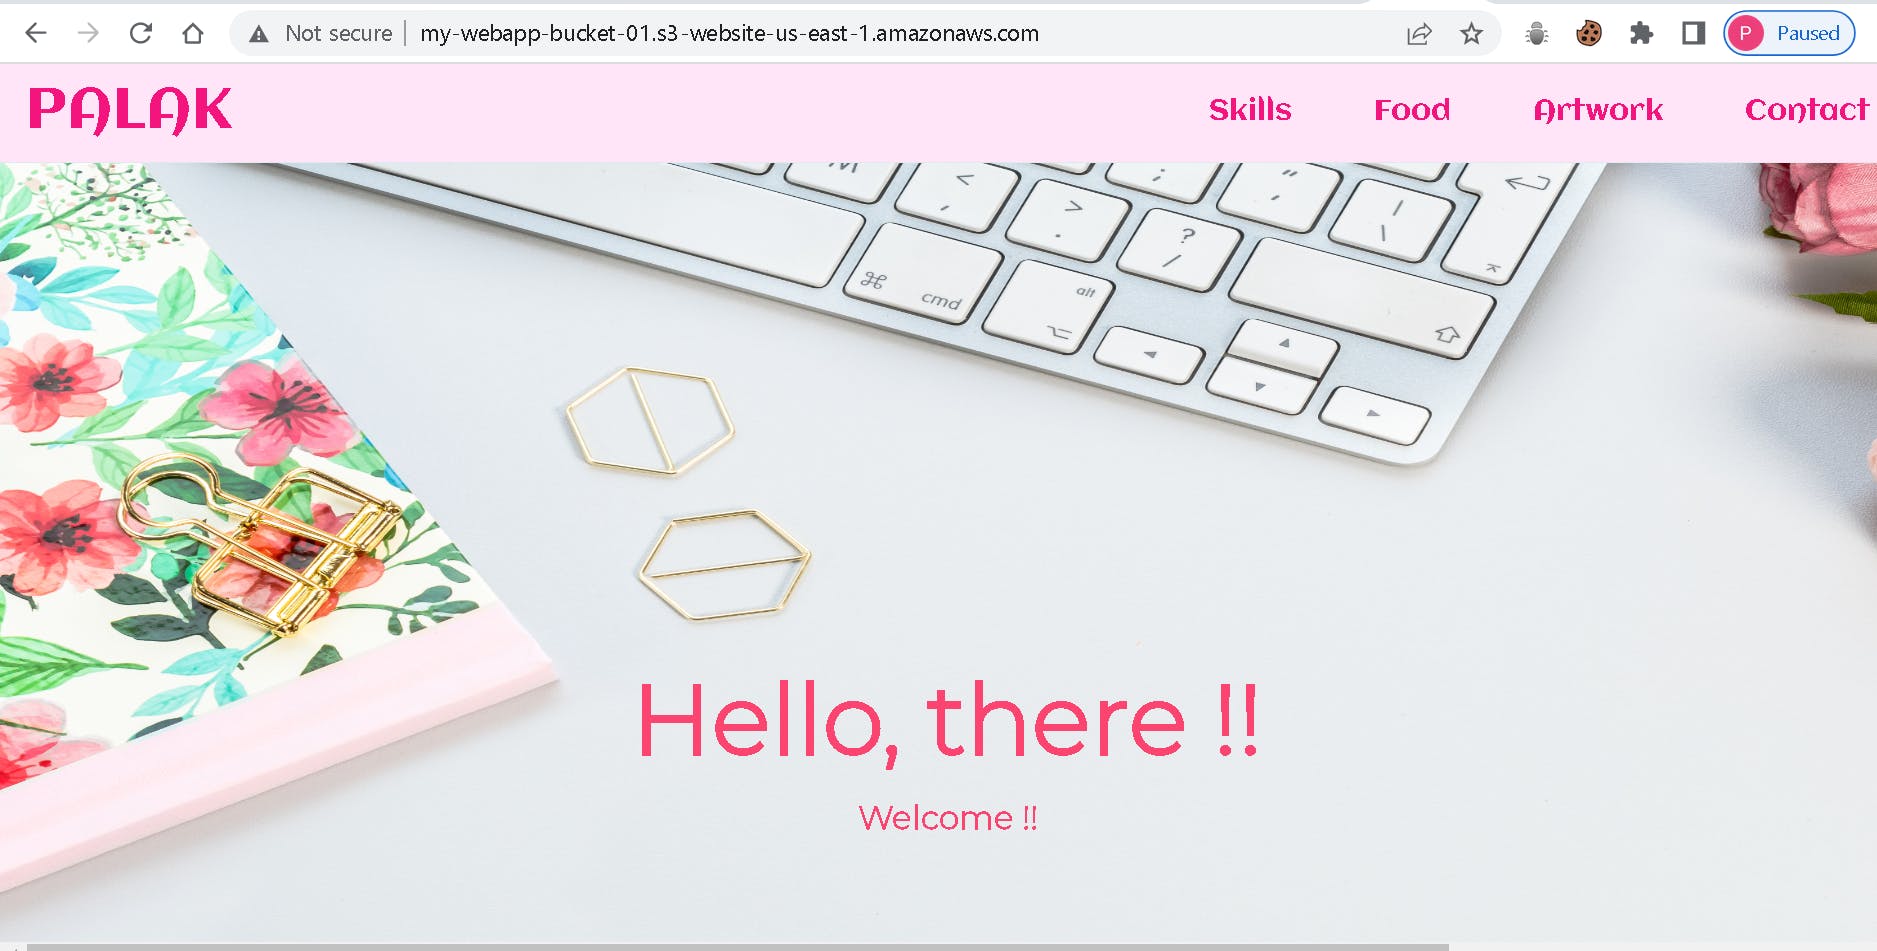
Tada!!! You have made it. Your website is ready to be accessed by anyone from anywhere.
Take the URL from Static Hosting Section and access your hosted website.
Thank you for reading my blog. I hope you find it useful. Let me know your feedback in the comment section below.